
Stealth Cam Scouting Camera Tips
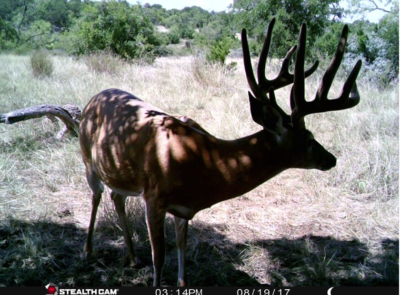
Whether you have a few acres or thousands of acres that you hunt having a general knowledge of what game is on your property can be key to successful game management program as well as possible hunting success. One of the best ways to keep track of what’s going on at your properties is with scouting cameras. We’ve used StealthCam since they only had models that took photos on 35MM film. Most of us remember those days of taking the film to be developed and waiting for week or more. Now we’ve seen Stealthcam lead the evolution of cameras that we can view right then. The new models do everything from taking still pictures in bursts, operating at night in infrared, taking HD video with sound, and even cameras with the ability to send the pictures to you no matter where you are in the world.
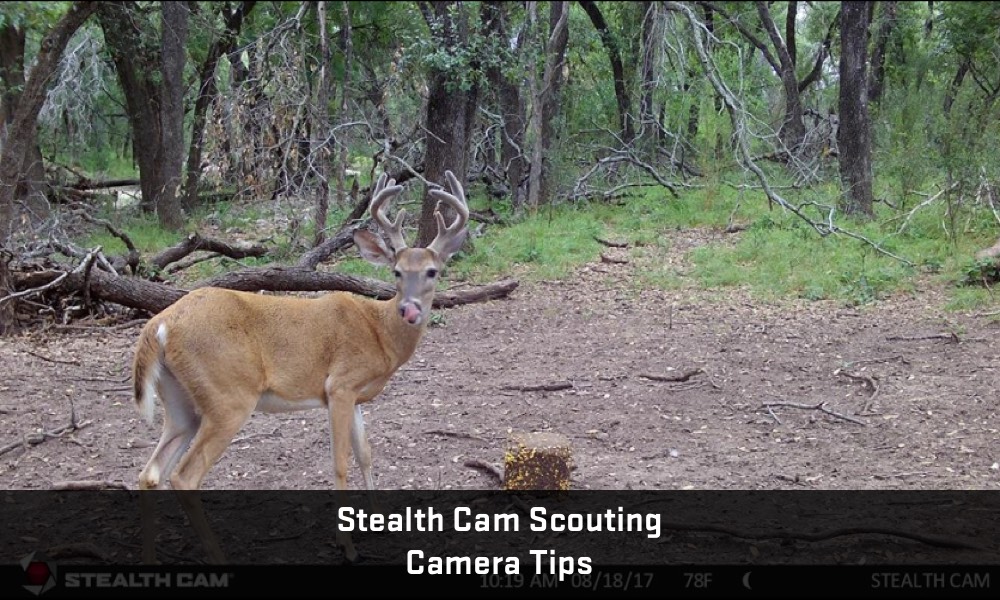
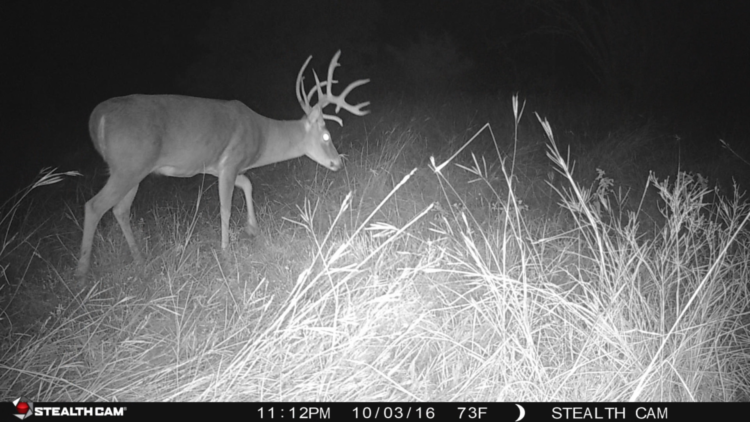
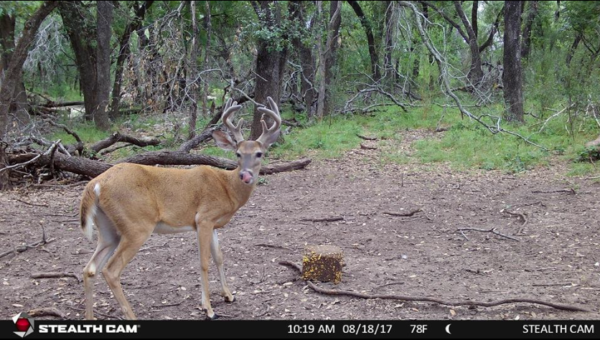
Hunters use scouting cameras for a wide variety of things on their properties from watching their animals to protecting their properties. Most of us cannot be out at our properties 24/7 but our scouting cameras can be our eyes while we are away. With the help of the scouting cameras hunters are able to monitor numerous things amongst their herd such as antler development, fawn recruitment, and keeping track of other game on your property from turkeys to hogs or even elk, bear and moose for our friends up north.
 Once you get the right scouting camera for your needs it is time to head out and place your camera on your property, but there are a few things you need to take a look at before setting the camera up.
- Placement – most hunters are going to look to have their cameras near game trails, food plots, feeders or watering holes.
- Making sure you have the camera located next to an area with lots of activity will help you better know what is on your property
- Ensure you place your camera in an easily accessible location
Today’s scouting cameras have numerous ways to mount the camera to fit your needs. Most all the cameras will come with straps to mount the camera to a tree or pole, but we all know sometimes that just won’t work. Other mounting options include:
- Zip Ties
- Bailing Wire
- T-post or Auger type mounts
- Screwing the housing directly into a tree, post or the ground.
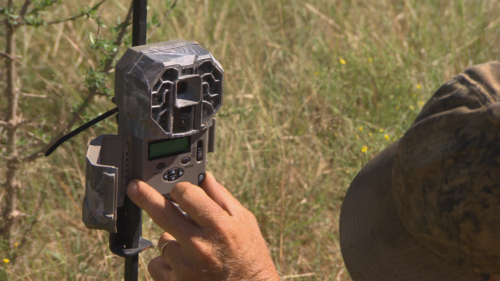
One tip, after you get your scouting camera all set up is to take a few test pictures and pull the card and have a look at them. Make sure you have a clear picture and are seeing everything you want, lots of times in heavily wooded areas you may have to trim some branches or brush to get that perfect shot.
Once you have your scouting camera mounted and in the correct location it is time to make sure all of your settings are set the way you like them.
- Set the date and time to ensure you can accurate data on your pictures
- Choose if you are wanting to take pictures or videos and how often the camera shoots them
- Select how high of quality do you want the pictures or videos. Remember the higher the quality the faster your SD cards will fill up
Once you get all those things done it is now time to sit back and enjoy looking at the pictures your scouting cameras will take and seeing what is on your property.
For more information on Stealth Cam Scouting Cameras visit: http://www.gsmoutdoors.com/stealth-cam/


Glad to see you posting again. I’m a bow hunter from the Little Rock area. I enjoy your posts. Thanks for writing!
Our pleasure!
nice work, keep up the good work.
Excellent